
Help and guide
Everything you need to know about tracking building and renovation costs in Temelino — short and step by step.
No results. Try another word or send us a question.
01Getting started
Sign-up, first project and starting point
- Create an account — with e-mail and password, or with “Continue with Google”.
- Choose what you're doing — new build, purchase and renovation, or renovation. You get suggested categories to match.
- Basics — name, floor area (m²) and address. All optional: without a name the project is called “My house”, and with the floor area you get the cost per m².
- House or land purchase — for a new build or a house purchase we ask whether it's already bought. Enter the price and date (or the expected price if you're still buying) — the purchase is tracked separately from the works.
- Budget for works and materials — optional, without the house or land price. You can add to it later in parts (loan, savings…).
On the overview you'll then find First steps — a short checklist (first expense, a photo, planned costs, your partner…). When you no longer need it, click Hide. Anything you paid before you started, enter as a normal expense with its real date.
Each house or renovation is a separate project. Switch between projects using the project name in the header.
02Recording expenses
Name and amount — everything else is optional
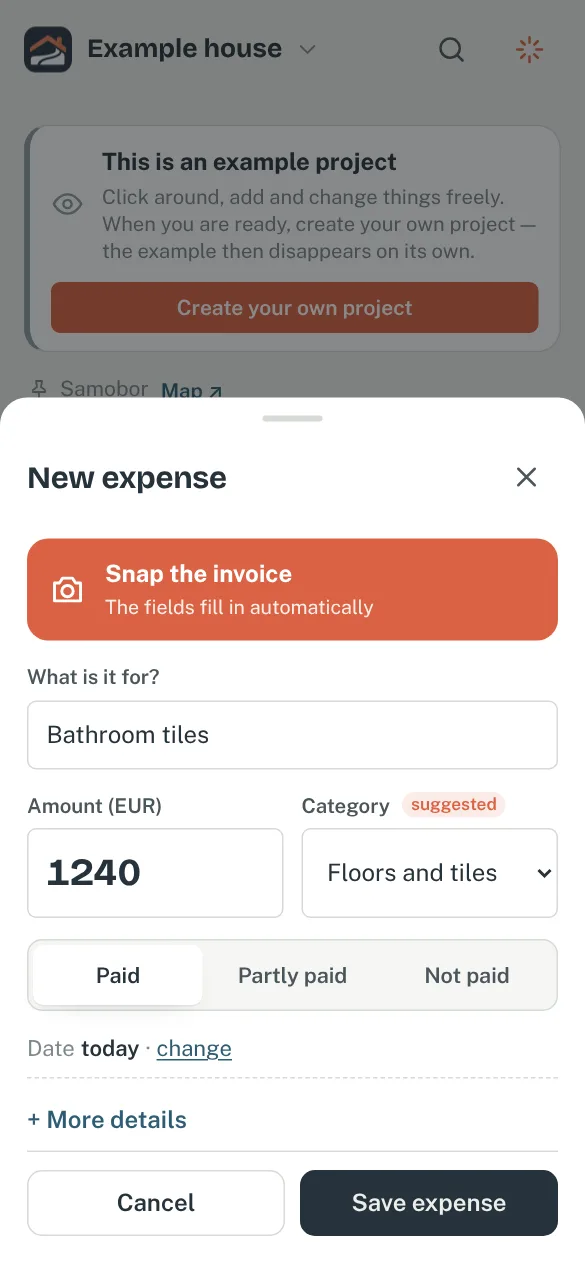
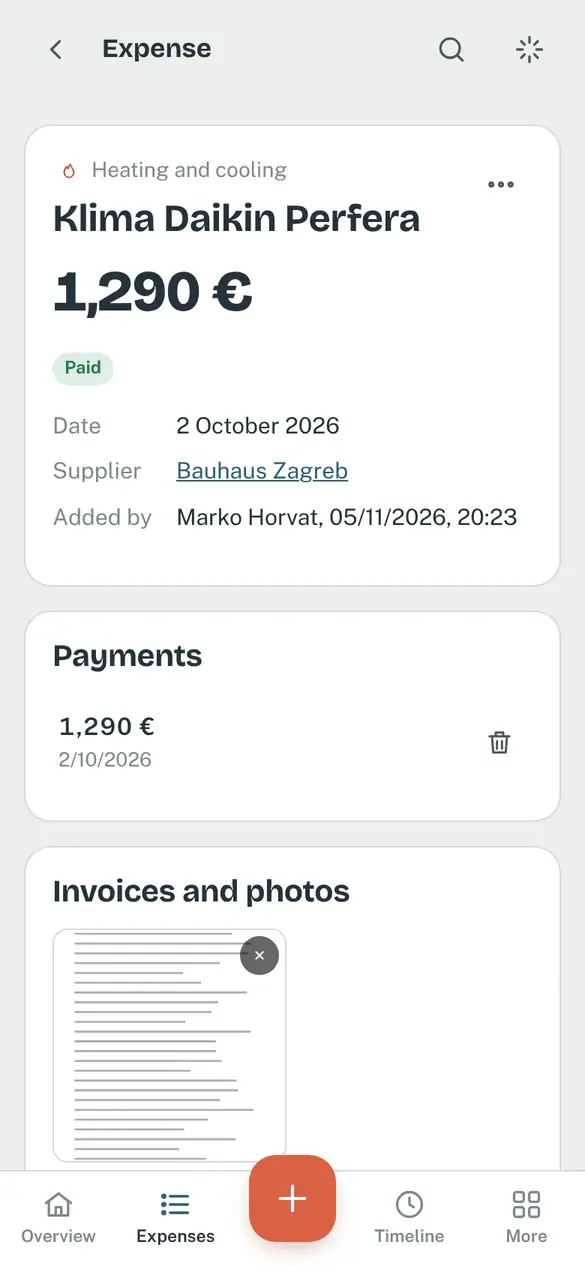
Add → Expense opens a short form. A name and an amount are enough; the date is today unless you change it. If you have the invoice, tap Snap the invoice and the fields fill in automatically.
- Category — as soon as you type the name, Temelino suggests a category (based on your earlier expenses or the name). You can change it.
- Payment — “Paid”, “Partly paid” (enter how much has been paid so far) or “Not paid” (with a due date). Unpaid expenses appear in the To pay card, and you can add payments step by step.
- More details — supplier or contractor, invoice number, area of the house, tags, attachments, warranty and document.
- Attachments — a photo of the invoice or a PDF. Tick the box to also save work photos to the Timeline. Files are private and only project members can see them.
- Duplicates — if you enter the same amount for the same supplier within a short time, Temelino warns you before saving.
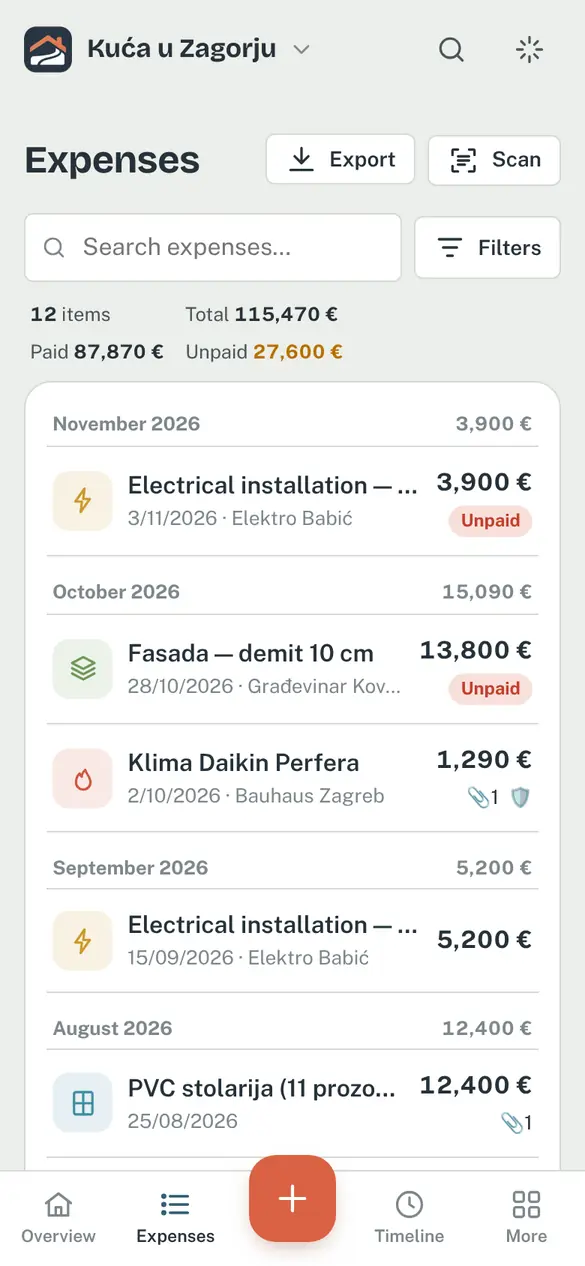
In the expense list you can filter by category, status, supplier, area of the house, tag and date, and download a CSV.
03Scanning invoices
Snap the invoice, AI fills in the fields
Add → Expense → Snap the invoice (or Scan in the expense list): take a photo of the invoice or choose a PDF. Artificial intelligence reads the supplier, date, invoice number, amount and line items, and you check and correct everything before saving. Nothing is saved without your confirmation.
Tip: photograph the invoice straight on, in good light, with the full amount visible.
Back to top ↑04Planned expenses
What's still to come and what it will cost in total
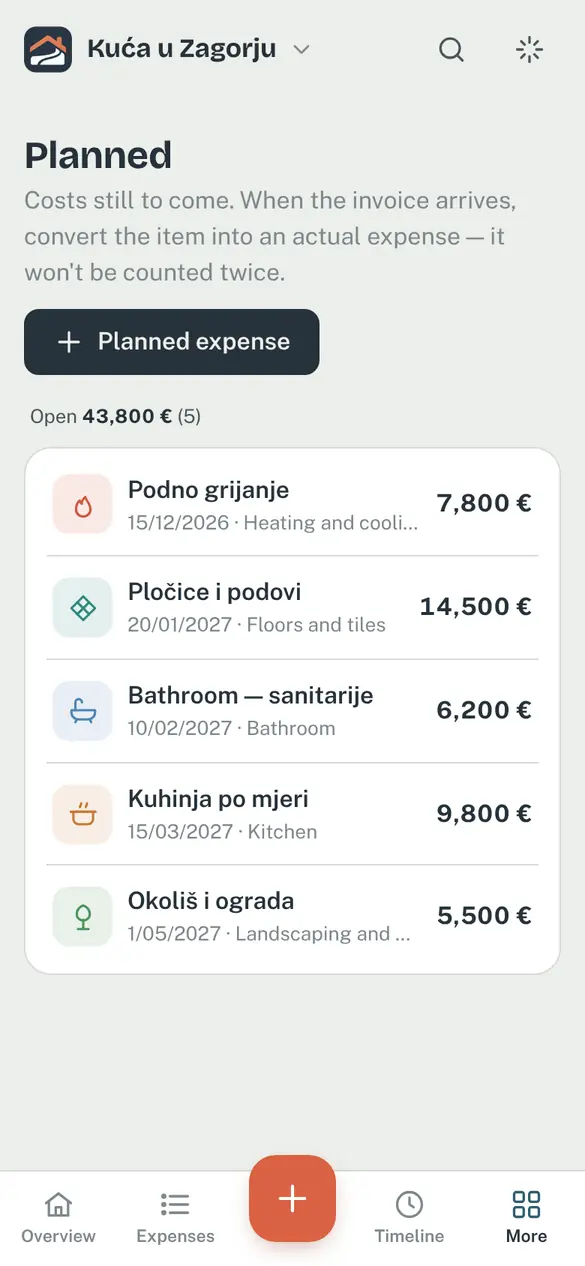
In Planned, enter work and purchases that are still to come (facade, roof, kitchen…) with an estimate and a rough date. The overview then shows the expected total cost: what's been recorded plus what's still planned.
When the invoice arrives, open the item and choose Turn into a real expense. The planned item is then treated as realised and isn't counted twice. Mark items you won't do as cancelled.
05Budget and cost per m²
How much is left and what each square metre costs
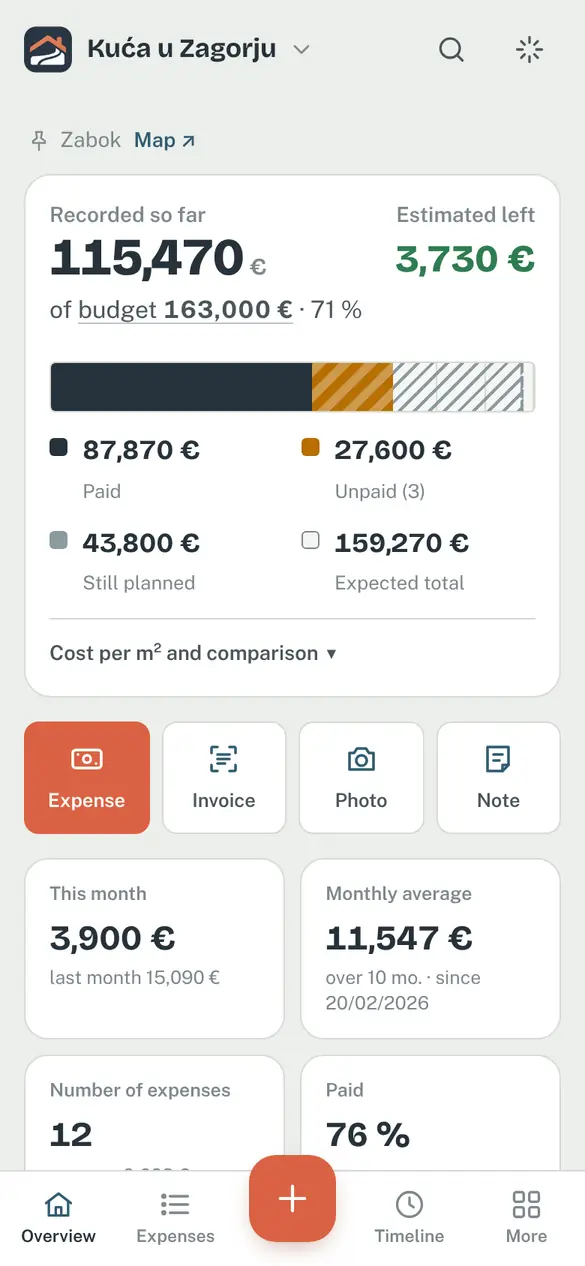
On the overview, a bar shows paid, unpaid and planned against your budget, and how much you're expected to have left (or by how much you'll go over).
The house or land purchase is tracked separately. The budget is for works and materials, and in Project → Overview display you can show or hide the purchase. When hidden, the figures and the bar show only the works, and the total including the purchase is shown in the line below the bar. How much is left for the works is the same in both views.
If you enter the floor area (m²) in the project settings, Temelino calculates the cost per m²: so far (recorded expenses), expected (including planned) and by budget. Handy for comparing quotes and market averages.
Back to top ↑06Timeline — progress photos
How the house grew, month by month
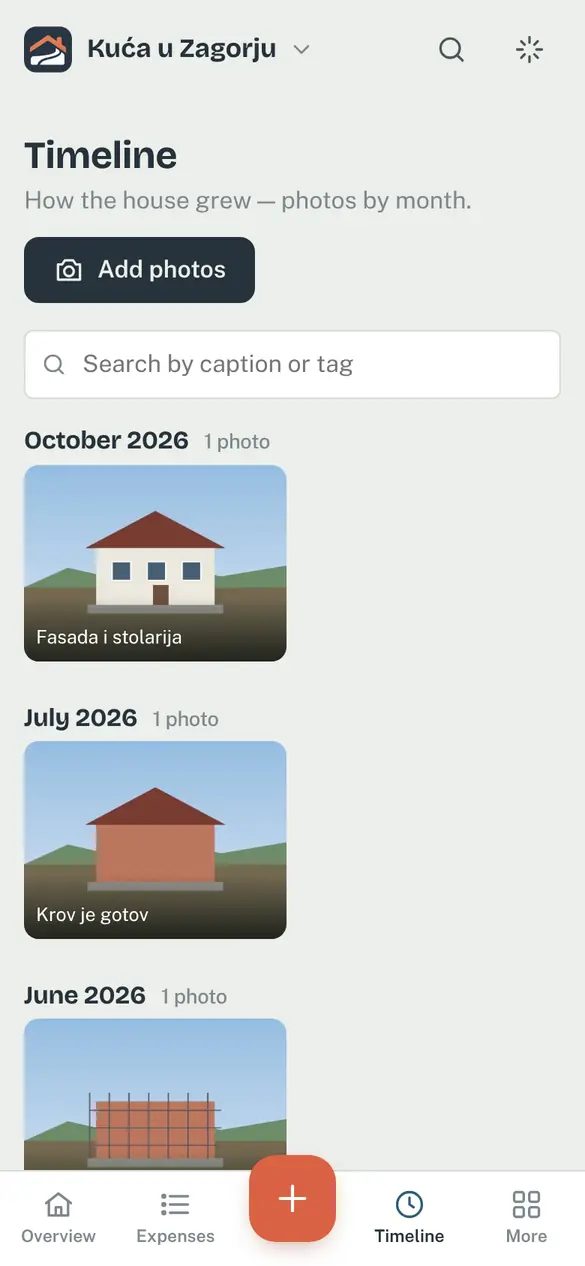
Add → Progress photos saves pictures to the timeline, optionally linked to an expense. Photograph the foundations, rebar and installations before the walls are closed — in a few years, knowing exactly what runs where is worth its weight in gold.
Tap a photo to open it. To see details, zoom in: on a phone double-tap or pinch with two fingers, on a computer click the picture or use the mouse wheel.
07Floor plans — installations in walls, floors and ceilings
Photos taken before plastering, on your floor plan
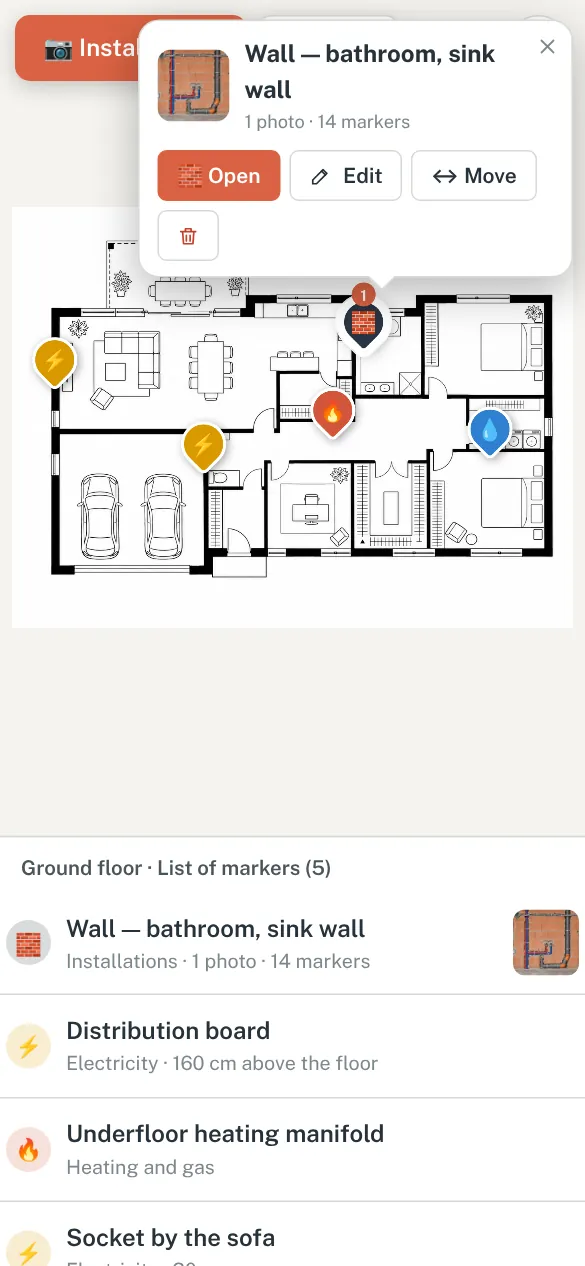
Installations are visible for only a few weeks — until plaster and screed cover them. Floor plans keep them for good: upload the floor plan of your house (an image or PDF of the design, or a photo of the paper plan) and place a photo of the wall, floor or ceiling at its spot in the room. Each floor gets its own plan.
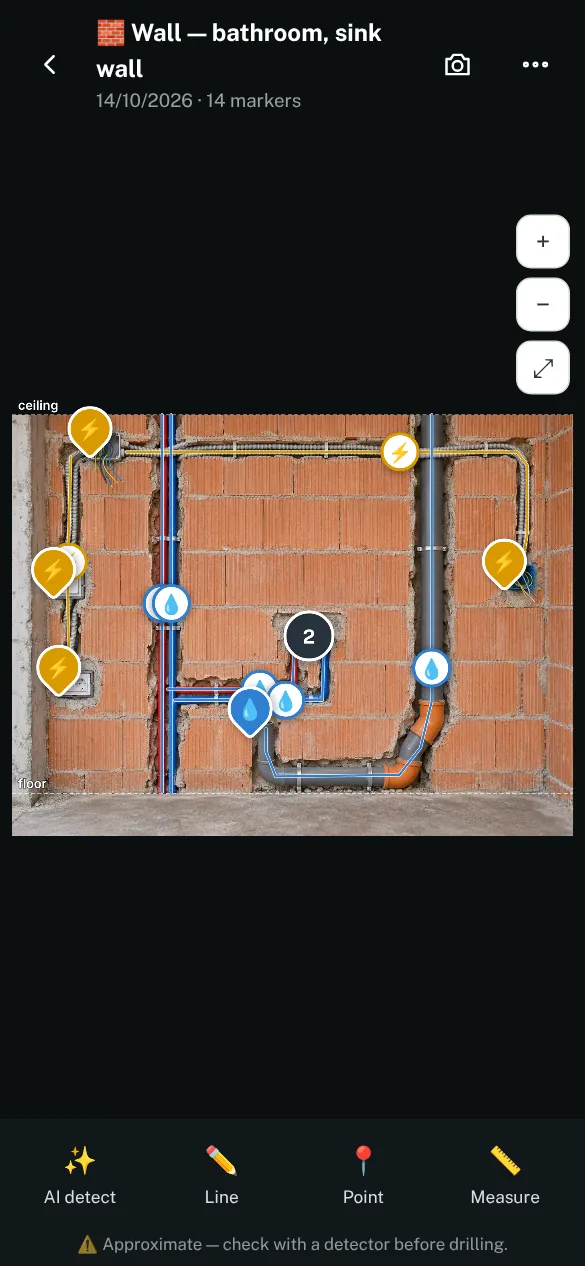
Temelino recognises conduits, cables and pipes, boxes and outlets in the photo and traces them in colour — electricity, water and heating each in its own layer. You review the suggestion before it's saved: fix or delete anything that's wrong and draw what was missed with your finger. Detection uses 2 credits.
Enter the wall height and every marker shows how high it is above the floor. Later you add a photo taken after plastering to the same spot, so you have before and after. Photos showing installations that you add to the Timeline are recognised automatically, and Temelino offers to place them on the plan.
Positions are approximate — still check with a detector before drilling.
08Documents, warranties and notes
Permits, contracts and agreements in one place
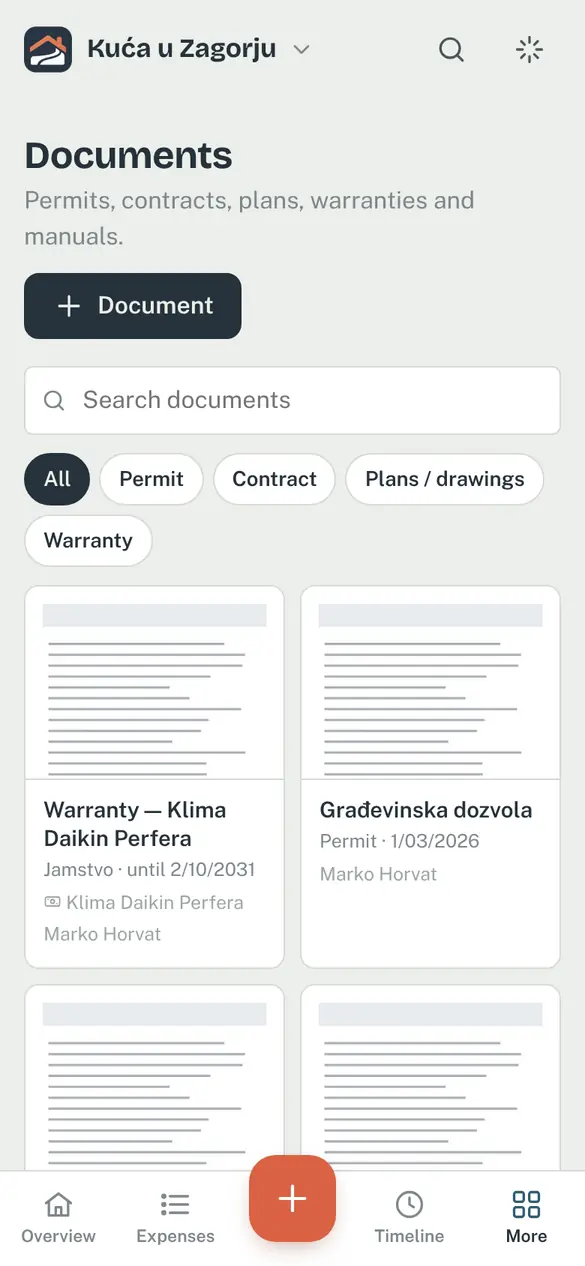
- Documents — building permit, contracts, plans, manuals, certificates. For warranties, enter the expiry date and we'll remind you a month before.
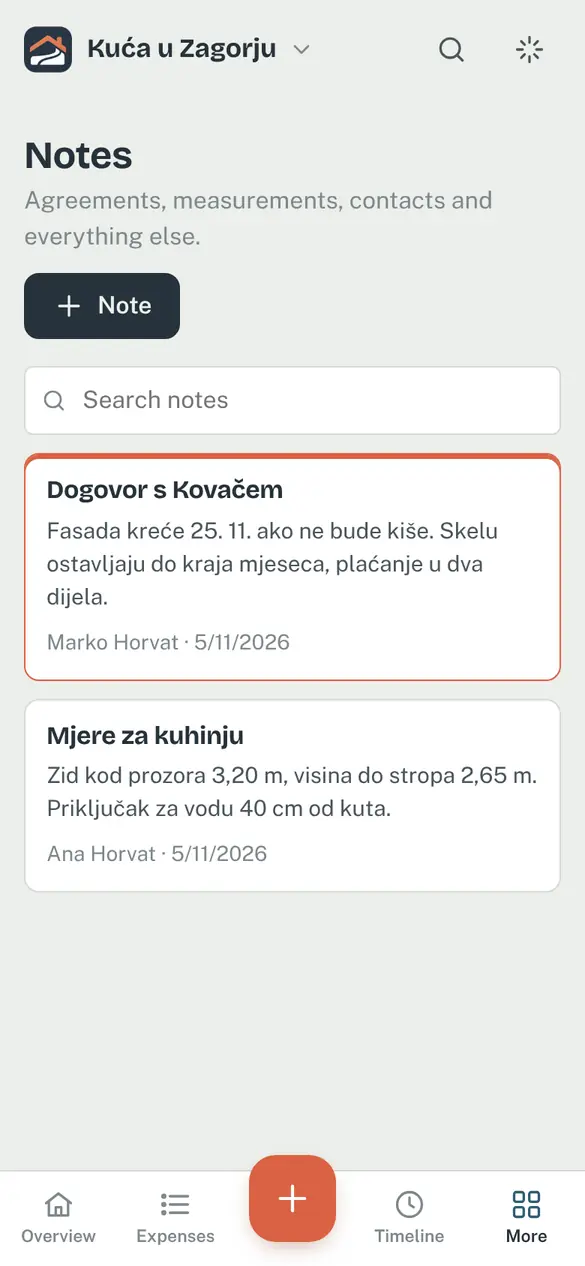
- Notes — agreements with contractors, room measurements, contacts. Pin the important ones to the top.
- Contractors — added automatically when you enter a supplier with an expense; see who did what and how much was paid.
09Shared project
Your partner and family in the same project
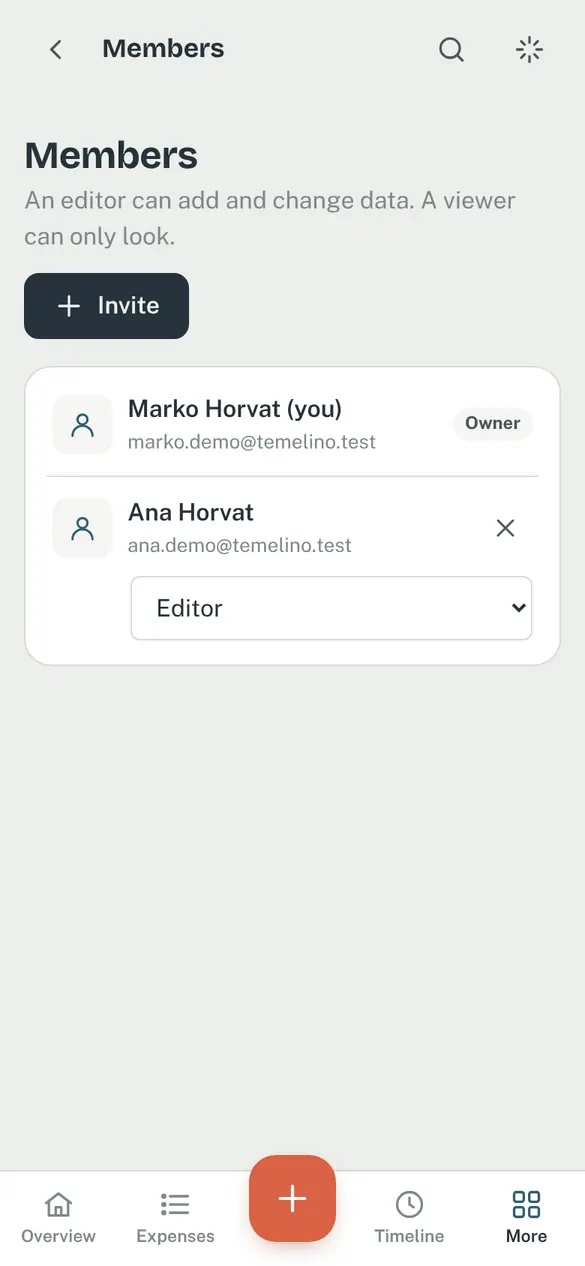
In Project → Members, invite someone by e-mail. Roles:
- Owner — manages the project and members, can archive or delete the project.
- Editor — adds and changes expenses, documents, photos and notes.
- Viewer — can only look.
An invitation is valid for 14 days. If the e-mail doesn't arrive, copy the link and send it yourself. Ownership can be transferred to another member.
10AI room design
Room photo → design proposal and list of works
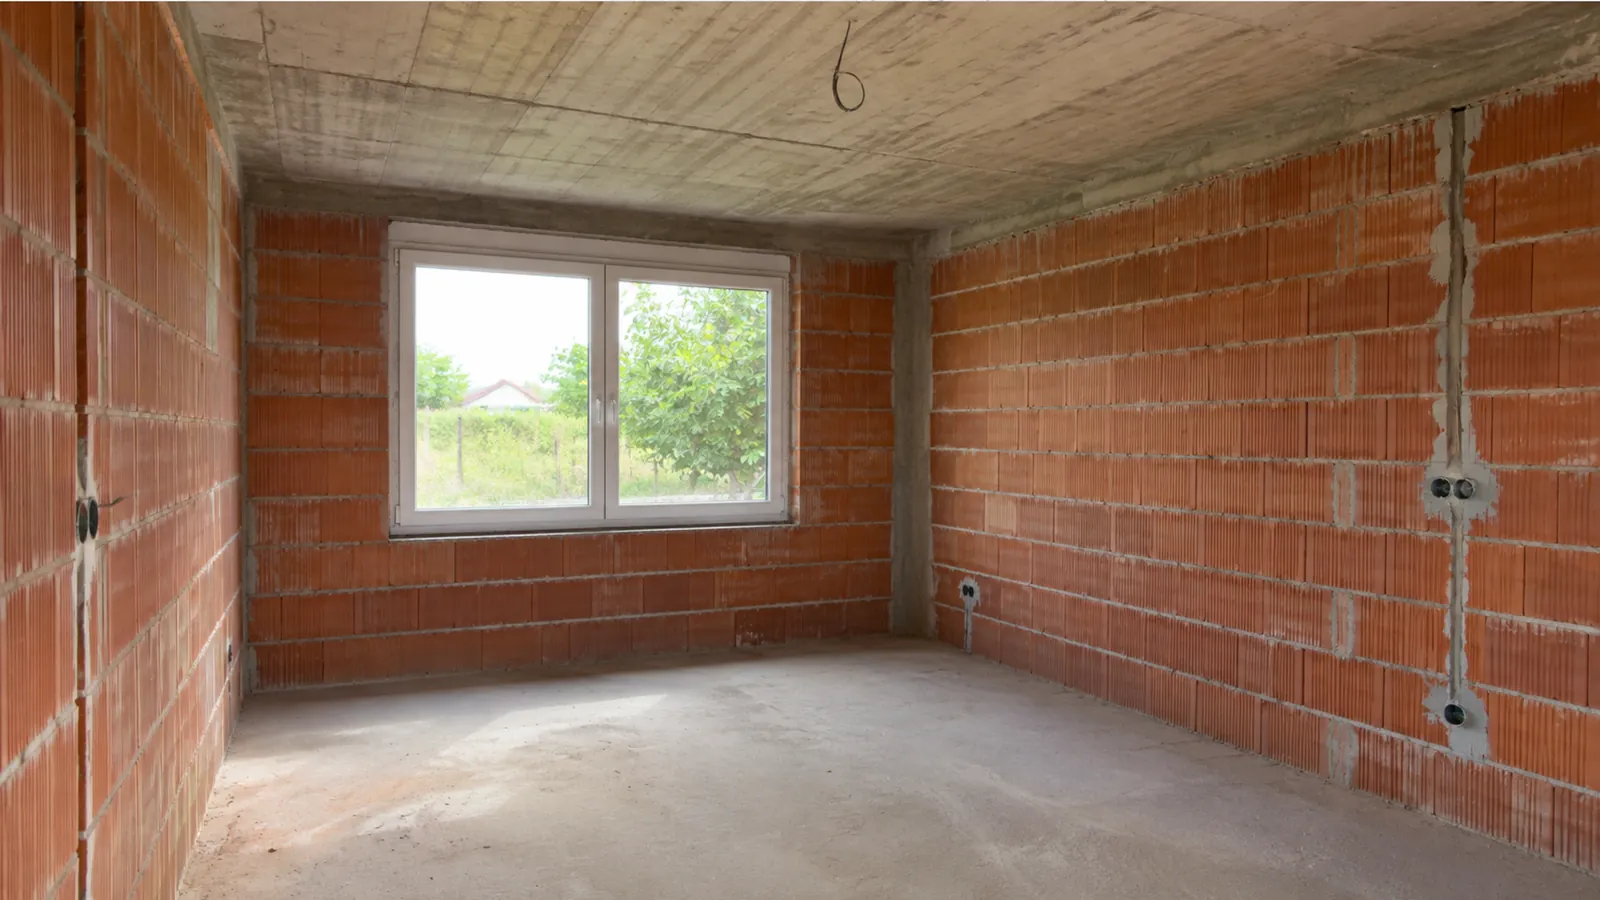
- Choose AI design in the menu and photograph a room, bathroom, terrace or facade — even while it's still a building site.
- The AI recognises the space and asks a few questions (style, colours, what to keep).
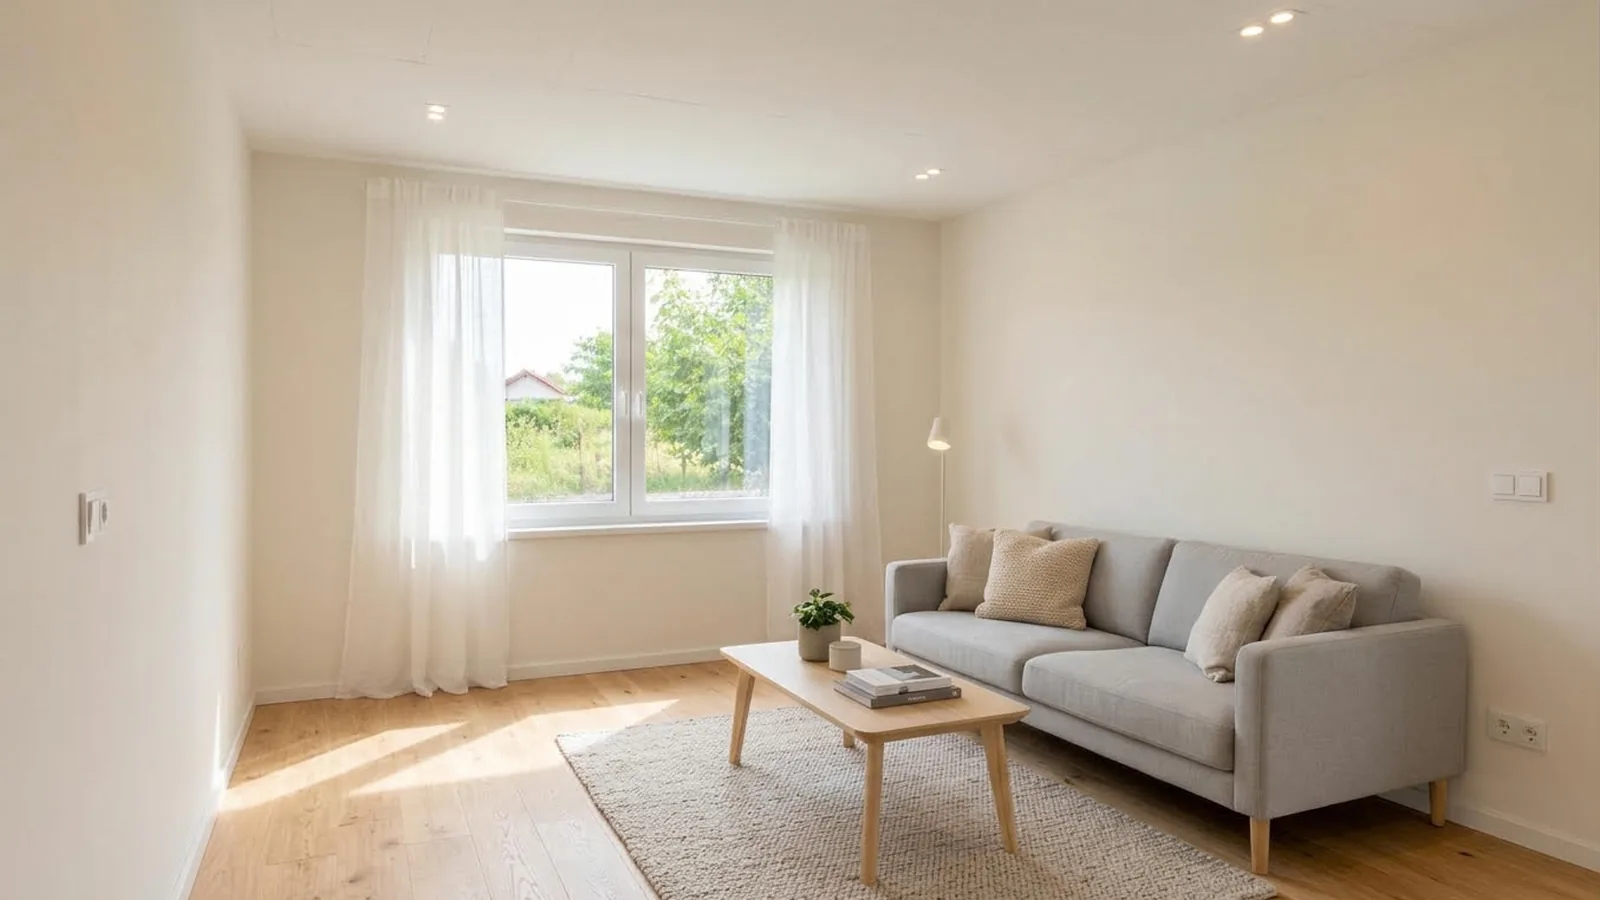
- Pick a style or describe the look you want — you get an edited photo, a colour palette and a list of works.
- Add items from the list of works to planned expenses with one click, and save the proposal to the timeline.
Each AI design uses 10 AI credits from your plan (on the Free plan, up to 3 designs a month). Proposals are illustrations, not design documentation.
11My home — after moving in
House archive, reminders and questions
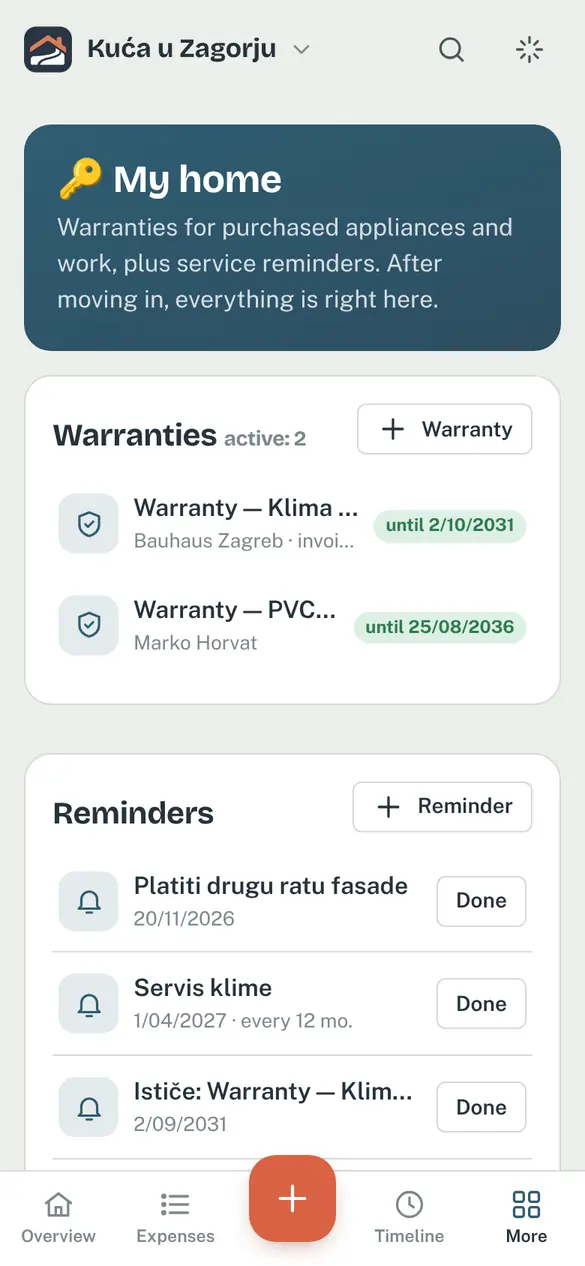
When you move in, mark the project as My home. All data stays, and these move to the front:
- Ask Temelino — “Who did the plumbing?”, “When does the heat pump warranty expire?” — the answer comes from your project's data, with the source.
- Reminders — boiler service, chimney sweeping, filter changes, with repetition.
- Warranties — all warranties and their expiry dates at a glance.
12Connecting Schematik
Installation schematics from schematik.net
In My account → Connected services, click Connect next to Schematik and approve access. Schematik then appears in the project menu with thumbnails of your schematics; you can enlarge each one or open it on schematik.net. Temelino only reads schematics and can't change them. Disconnect with one click.
Back to top ↑13Export, backup and deletion
Your data is always yours
- Cost report in Excel or PDF — buttons on the expense list (respecting filters) and in Project → Export, with summary, categories, planned costs and payments.
- Project → Export: expenses as CSV or the full archive (ZIP) with Excel sheets and all files in folders — it opens without the app.
- Copy of your account's personal data: get in touch via the Contact form and we will send it to you.
- My account → Delete account: permanently deletes the account and the projects you own.
14Notifications: e-mail and push
Reminders so nothing slips through
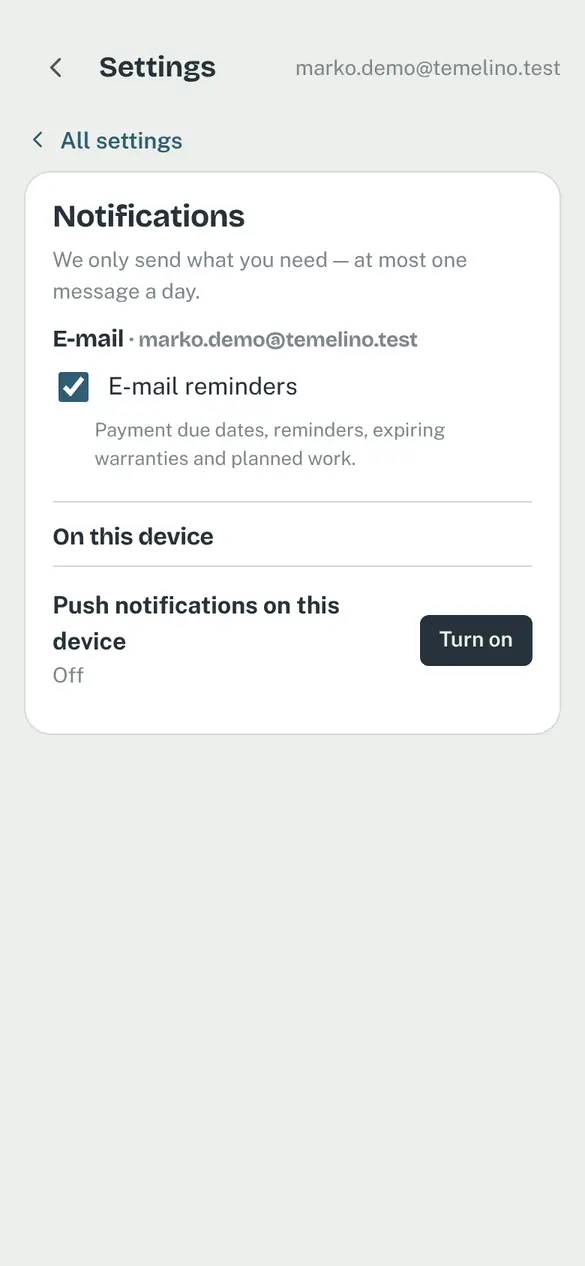
In My account → Notifications you choose what to receive:
- E-mail reminders — once a day, only when there's something new: payment due dates (3 days before and when overdue), your reminders, warranties expiring within 30 days and planned work in the next 7 days.
- Weekly summary — every Monday, a short summary of last week's expenses (if the administrator has turned it on).
- Push notifications — on your phone or computer, including when your partner adds an expense, payment or document. Turn them on separately on each device. On an iPhone, first add Temelino to your home screen.
15Building cost calculator
A rough estimate before the first invoice
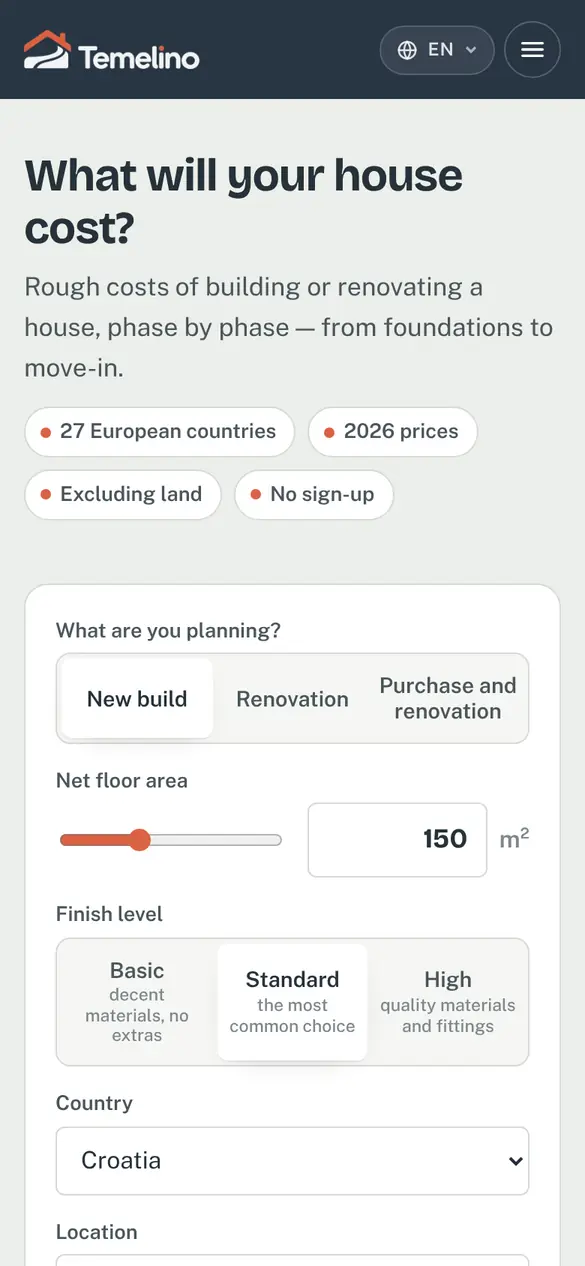
The calculator estimates the costs of a new build or renovation by construction phase — based on floor area, finish level, location and number of storeys, including design, fees and utility connections. With Save as a plan in Temelino the estimate becomes the budget and planned costs of a new project, so you can see deviations from day one.
16Temelino on your phone
App, widget and hiding amounts
Temelino runs in the browser on phones, tablets and computers. For Android there is also the Temelino app on Google Play, with the same account and data as on the web.
Home screen widget (Android app)
- Long-press an empty spot on your home screen and choose Widgets.
- Find Temelino and pick the small widget (what's left and a + button) or the larger one (recorded, left, unpaid, next due date and quick entry).
- Open Temelino once so the widget connects to your project.
The widget shows the project you opened last. The numbers refresh when you open the overview, about every two hours and after every notification. + Expense opens a new expense and Invoice opens invoice scanning. When you sign out, the widget is cleared.
Hiding amounts
Tap the eye icon to replace amounts with dots (•••• €). In the app the icon is on the overview and the expense list; on the widget it is in the top right corner. On the widget, amounts stay hidden until you show them.
Home screen icon without the app
- Android (Chrome) — menu ⋮ → Install app or Add to Home screen.
- iPhone (Safari) — Share button → Add to Home Screen.
Change the language (Croatian, English, German) and light/dark theme in My account.
Back to top ↑Frequently asked questions
Is Temelino free?
Yes — the Free plan is free forever and covers all the basics: expenses, documents, photos and a shared project. Free includes 250 MB of storage (about 600 photos) and 200 AI credits a month — a receipt scan or a question to Temelino uses 1 credit, an AI design 10. For more storage, AI credits, projects and members there are the Plus and Pro plans (a Google Play subscription you can cancel any time). We don't show ads and we don't sell data.
Who can see my expenses and files?
Only you and the members you invite to the project. Files are kept in private storage and are accessible only through time-limited, signed links.
How will I know where pipes and cables run after plastering?
In Floor plans you place photos of walls, floors and ceilings taken before plastering on your floor plan. Temelino recognises and traces the conduits, cables and pipes, and with the wall height you also see how high each marker is above the floor. Still check with a detector before drilling.
Can I track more than one house or flat?
Yes. Each house, flat or renovation is a separate project, and you switch between them in the app header.
How do I avoid counting planned costs twice?
When the invoice for a planned item arrives, choose “Turn into a real expense”, or pick “Relates to a planned item” on the expense. The item then no longer counts towards the planned amount.
How is the house or land purchase tracked?
Separately from the works, in the “Land and property purchase” category. The budget is for works and materials, and in Project → Overview display you choose whether the purchase shows in the overview figures.
How is the cost per m² calculated?
Total recorded expenses (and, separately, the expected total including planned items) are divided by the floor area you enter in the project settings.
Can I use a currency other than the euro?
Yes, you choose the currency per project in the project settings.
I forgot my password — what now?
On the login screen click “Forgot password?” and we'll send you a link to set a new one (valid for 1 hour). If you sign in with Google, you don't need a password.
How do I download all my data or delete my account?
Download the full project archive (ZIP with Excel sheets and files) in the project settings, and your personal data in “My account”, where you can also delete your account permanently.